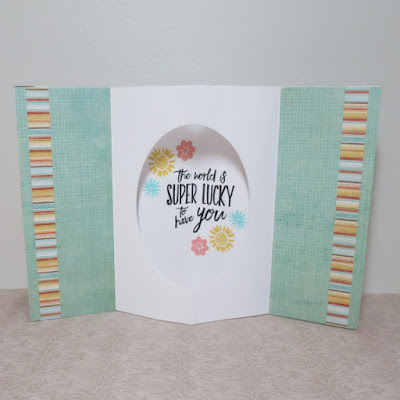
Today we have a fun fold technique called a tunnel card because when you open it, it looks like looking through a tunnel. You can find the details here.
When
I saw tunnel card, I wasn’t sure what that was. However, once I saw how one is
created, it seemed do-able. To create the “inner” part of the card, I started
with a piece of 5.5” x8.5” cardstock. I scored at 2 1/8”, 4 ¼” and 6 3/8” (all
measured from one edge). Using MFT Die-Namics Zig Zag Sticked Oval Stax, I die
cut the central oval. To add some interest, I added patterned paper to the side
panels. For inside the tunnel (on the card base), the sentiment is from
Essentials by Ellen’s Up the Happy stamp set. I decorated and added some colour
with Hero Arts Garden Flowers by Lia and Hero Arts Shadow Inks (butter bar,
soft cantaloupe and tide pool). Only the edge panels of the “inner” part of the
card are adhered to the card base. I thought I was finished, then realized that
the front of the card was blank. So, I added some strips of patterned paper of
different widths, from the paper pack to create the card front. -Sue


No comments:
Post a Comment