Sunday, June 30, 2019

Sweet & Simple Sunday 27-2019

Hello & Happy Sunday!  Can't believe the year is half over!!!  Today is Sweet & Simple Sunday.  Our theme this month is "Patriotic" and our colors are red, white and blue!

Here is my card:


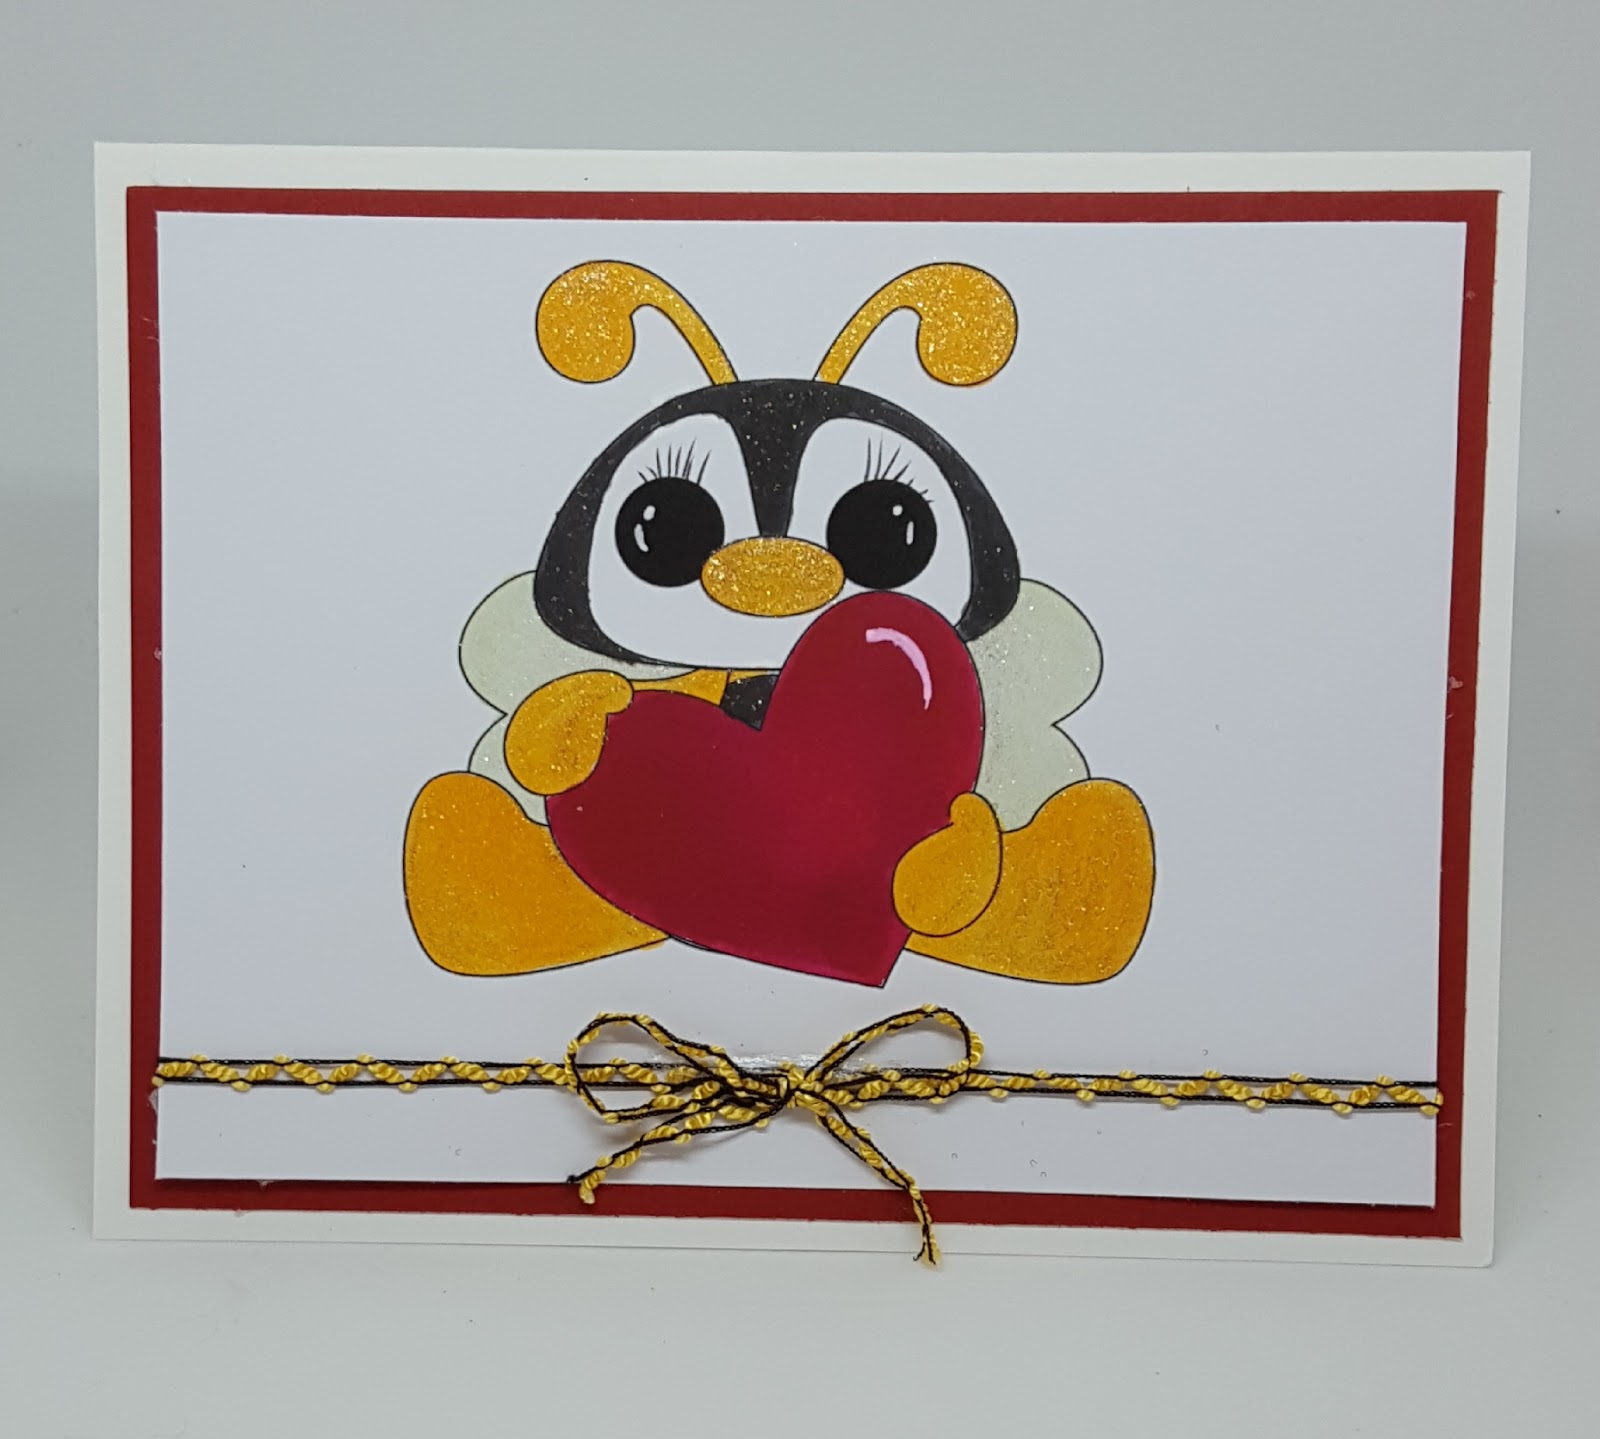
I had fun today!  Dug through my stamps and found this cute one from Art Impressions.  I stamped the image using Tuxedo Black Memento Luxe ink and heat embossed with clear embossing powder from Whispers.  I colored the image using Spectrum Noir markers.  I placed the panel on a red polka dot panel.  I stamped the sentiment using red Memento Ink and heat embossed it also.  I trimmed it and placed it on a strip of light blue card stock and placed it on the panel using foam tape.  I have used so much lately I am now buying in bulk on Amazon!!!  I used the same light blue card stock to make my card base.  Get out your red, white and blue and join us!  ~  Gracie

Saturday, June 22, 2019

Scene It Saturday 25-2019

The 4th of July is just around the corner, so I made that the theme of my card.


One of the fastest ways to make a scene card is to cut it out in silhouette. I used two images from the Cricut cartridge called A Child's Year and welded them together.  I didn't notice until after I cut it that one image was at a slight angle from the other which made it look like they were going uphill, so I just went with it. I used an edge die at an angle to look like a hill and put the cut out on top of it..  The paper is from a Pebbles pad called Americana.  Mounting it on a red card base gave it an extra pop.  So quick and easy - Denise.

Friday, June 21, 2019

Freestyle Friday 25-2019

The colors for this month are primary colors, so I did a fun box card with these bright colors.


The cut file is from svgcuts.com.  She has some wonderful box cards and I did this for a family member since my theme for those cards this year is box cards.  I used full sheets of cardstock for the main box, but all others were done from scraps I have.  I keep my scraps in hanging files by color so it makes it easy to find what I need.  I let my Cricut do the writing on the front too.  The brads on the front that look like screws are from Eyelet Outlet.  These cards are so fun to do and go together pretty fast. - Denise

Thursday, June 20, 2019

Inspiration Thursday 25-2019

We have an inspiration board today.


I used the map on the wall, the airplane and the colors for my inspiration.


I will be visiting my daughter at her home in Washington state next week.  My son and his family are going too, so I decided to send a card to my granddaughter in anticipation of the trip.  I will coming from Ohio and they are coming from Arkansas.  I used a Unity stamp called Life is a Journey to stamp the map on white cardstock. I chose a paper from a K & Company's paper pack called Summer Travel with lots of colorful planes on it.  I colored the three states with Spectrum Noir markers and used a punch to cut hearts out in colors that were close to what I used for the states.  I hand drew the dashed lines from our homes to our destination.  The oval and background mats were cut using a die from paper of the same pack.  It was fun to send a card as the trip gets closer. - Denise

Wednesday, June 19, 2019

Sketch It Wednesday 25-2019

Here is she sketch we were given for today's challenge.


The triangle reminded me of a tepee, so I flipped the sketch for this card.


The image and sentiment are from Unity Stamp Company''s set called Hello Bear. I made a cut file for my Cricut so that I could make the image again without having to do the fussy cutting.  I colored it with Spectrum Noir markers and mounted it on a background paper from a DWCV stack called The Good Wood.  I added a couple of enamel dots at the bottom and used the sentiment which has an arrow as part of it for the banner at the top.  It is a fun little card. - Denise

Tuesday, June 18, 2019

Technique Tuesday 25-2019

Today we have a technique that was new to me.  It is a slider card and Gina K has a good video with instructions on how to make this type of card.  It can be found here.


As you can see, pulling the tab lifts this little hedgehog into the clouds.  I started with a stamp from a Unity set called Hoppy and Hedgie.  I stamped the image and colored it with Spectrum Noir markers and then fussy cut it.  The place where the balloons come together was pretty thin, so I baked it with another strip of cardstock to reinforce it.  I had decided to make the parts on my Cricut Explore using basic shapes and Design Space.  Since this image was so long, I decided to put the square in the center and have the balloons disappear at the top as the hedgehog appeared.  I hand cut some clouds and added some Distress Ink blending to place around the opening.  I was going to stamp my sentiment directly on the cloud but forgot until it was attached and the foam underneath made it too bumpy to stamp, so it turned into a banner. I learned a lot and will probably do some things differently next time. - Denise

Monday, June 17, 2019

Mistletoe Monday 25-2019

We are thinking of Christmas today.


I used a cut file from the Cricut cartridge called Create a Critter 2.  Since I wanted to make a card from the image, I copied the black base layer and sliced off the chimney so that I could attach the two shapes together.  I used a black glitter washi tape along the top on both the outside and inside of the card to act as a hinge.  I used glitter paper for the decorations.  Once they were on, I decided to go even more glitzy and added some lights along the roof and candy canes along the bottom.  Both came from my stash. - Denise

Sunday, June 16, 2019

Sweet & Simple Sunday 25-2019

Hi, Dense here for this week.  Since June is all about bright colors, I made a trio of cards that were quick to do.


I cut three pieces of white cardstock 4" x  3.75".  I used a border die that cuts with stitching detail on both sides of the cut which is slightly wavy.  I lined the die up across the 4" side about a third of the way down from the top. I cut a piece of patterned paper from a 6 x 6 paper pad by MME called Playdate into 2" x 4" strips.  I found it easier to place the top piece on an A2 size card base leaving an even border at the top and sides.  I made a small pencil mark at the bottom side where it curved up at its highest point.  I removed the white piece and adhered the patterned strip making sure to just cover the pencil mark with the top of the strip and keeping even borders on the sides.  Then I could adhere the top and bottom white pieces with the patterned pieces showing in the gap.  I used green and blue card bases to give a pop of color as the border.  The sentiments came from three different sets.  Unity Stamp Company's Hello Bear, June 2019 KOM (Summer Celebrations), and CTMH Belated Birthday Occasions.  I will probably do more sets with other patterns because they were so quick to do. - Denise

Saturday, June 15, 2019

Scene It Saturday 24-2019

Happy Saturday!!  Time to make a scene!  I went through my stack of images that are ready to be colored and found a precious House Mouse stamp.

Here is my card:


I had fun just taking my time coloring the image but I was really unhappy how dark the third mouse came out (picked up the wrong Spectrum Noir marker!)  He looks more like a rat than a mouse!  Then I took my time using a Wink of Stella Blue glitter pen to color the stars and had ANOTHER boo boo!  The pen leaked in a blob on one star.  Fix:  OK - that is where my sentiment HAS to go.  I trimmed the panel and placed it on a piece of red card stock and added a strip of red card stock along the side.  I stamped the sentiment (from Tim Holtz) with Memento black ink.  I trimmed it and placed it on red card stock as well and attached it with foam tape over my mistake.  I used bright blue as a card base.  I went back and added rhinestones.  I think it will be fine for Flag Day!

Thanks for following our blog!!  Have fun making kids' cards!  I will see you next month!  ~  Gracie

Friday, June 14, 2019

Freestyle Friday 24-2019

It's Friday and the sky is the limit!  Time to play!!

Here is my card:


I just love this little ducky!  Perfect for a child!  It is stamped on white card stock with the sentiment.  I masked the duck with a second image which I fussy cut and tacked down with a strip of washi tape.  I  decided to play with my oxide inks (Tim Holtz Peacock Feathers, Fossilized Amber and Spiced Marmalade) blending all three liberally over the whole panel.  I then used my Ranger Mister and set the panel aside to dry.  I then trimmed the panel down and wrapped and tied a bright blue ribbon.  I attached the panel to a bright blue piece of card stock and used a deep yellow as a card base.  I colored the image with Spectrum Noir markers.  My granddaughter is spending the night and has called dibs on the card!  ~  Gracie

Thursday, June 13, 2019

Inspiration Thursday 24-2019

It's Thursday!  Time for a mood board for inspiration!

Here is this month's board:


And here is my card:


I got a new Art Impressions stamp set and just had to play with it!  I stamped the image and sentiment on heavy weight white card stock with Tuxedo Black memento Luxe Ink and heat set with black thick embossing powder (I think it brought out more detail).  I colored my image with Spectrum Noir markers using blue, lime green and orange on the birthday hat and balloons.  I trimmed the sentiment and matted it on lime green card stock.  I cut a strip of lime green and trimmed the edge with a Fiskars trimmer and adhered it to a panel of bright blue card stock with Art Glitter Glue.  I attached the sloth with Art Glitter Glue and the sentiment with foam tape.  I placed the panel on a card base made from bright orange card stock.  Cute!  ~  Gracie

Wednesday, June 12, 2019

Sketch It Wednesday 24-2019

It's Wednesday again!  Time for a sketch!  Our colors are primary (red, green, blue, yellow) and our theme is kids.

Here is our sketch:


Here is my card:


I started with an orange triangle.  I hunted through my stash and loved the polka dotted paper from Stampin' Up.  The image and sentiment were received in a swap so I am unsure of the source.  I colored the bunny with Spectum Noir markers and attached him in the middle of the triangle.  I trimmed the sentiment and attached it with foam tape.  I placed the panel on a green card stock base.
Quick and easy!!  ~  Gracie

Tuesday, June 11, 2019

Technique Tuesday 24-2019

It's Tuesday and time to play with a technique... get a zip lock bag, a stapler, and some patience...

Here is our inspiration:


Here is my card:


Well, I made one last week that took FOREVER!  But this week went much faster.  I started with 2 white panels, cutting a rectangle in the first and drawing the rectangle on the second as a reference.  I die cut a lace frame and placed it around the rectangle.  I found a really bright Summer sticker set in my stash and added the beach ball and the sunglasses to the front panel and the umbrella inside on the second panel.  The sentiment is also from the sticker set and I placed it on white card stock and trimmed it then placed it on bright pink card stock and trimmed it as well.  I added the ribbon around the front panel then added foam tape behind to create a channel for my interactive slider.  On the second panel I used a straight edge and craft knife to cut 2 slits to place my plastic "conveyor belt" mechanism and stapled it on the back side at the top slit.  On the front I added some red line double sided tape and added a flamingo die cut from the Summer sticker set.  I attached a strip of white card stock to the back with the same tape at the top to use as a pull tab.  I added foam tape to the back of the second panel to create a channel for the pull tab.  I placed the panels on a bright orange card stock base.

Here is my card with the tab pulled down:


I really think it made a cheerful card!  ~  Gracie

Monday, June 10, 2019

Mistletoe Monday 24-2019

Happy Monday!  Time to make a Christmas card!

Here is my card for today:


I had so much fun with the Crazy Dogs I got out the Crazy Cats!  I stamped my images on heavy weight white card stock with Tuxedo Black Memento Luxe Ink and heat set with clear embossing powder.  I stamped the sentiment (also Tim Holtz) in 2 steps - the outline first then the sentiment using clear Versamark ink and gold embossing powder.  I trimmed the sentiment out and placed it on a mirror gold card stock panel.  I die cut several small white snowflakes and attached them Art Glitter Glue.  I colored the images with Spectrum Noir markers and placed them on the panel using Art Glitter Glue.  I placed the gold panel on a white panel and used a lime green card stock as a card base.  Fun!  ~  Gracie

Sunday, June 9, 2019

Sweet & Simple Sunday 24-2019

Hello and welcome to a new week on Card a Day Challenge Blog!  It's Gracie here as your designer this week!  We start our week off with Sweet & Simple Sunday!  Our theme is kids and our colors are bright (primary red green, yellow, and blue).

Here is my card for today:


I still had the Crazy Dogs from Tim Holtz on my craft table I used last week and I just had to play with them!  I stamped a dog, a gift, a bone, three balloons, the strings, the hat and the sentiment using Tuxedo Black Memento Luxe Ink and heat set with clear embossing powder.  I trimmed out the sentiment and fussy cut all the elements.  I colored everything with bright colors using Spectrum Noir markers.  I glued the images down on bright green card stock with Art Glitter Glue.  I placed the sentiment on black and white Stampin' Up card stock and put it on the panel with foam tape. I placed the green panel on the same black and white card stock and used red card stock to make a card base.  Pretty festive for a child!  ~  Gracie

Saturday, June 8, 2019

Scene It Saturday 23-2019

Happy Saturday!  Let's make a scene!!!

Here is my card:


Today's card was fun to make, too!  I used another stamped image sent to me in a swap.  I colored the image with Spectrum Noir markers and fussy cut each element out.  I took a piece of bright yellow card stock and cut a circle in it.  I placed a white panel behind it and then placed the girl as the focal point into the circle and glued her with Art Glitter Glue.  I attached the other elements with foam dots.  I trimmed the sentiment and placed it on a light green card stock and attached it with foam tape.  I used a bright orange for a card base.

I hope you have had fun making cards for kids this week - I have!  I'll be back next week also  :)  Have a great weekend and Happy Cardmaking!  ~  Gracie

Friday, June 7, 2019

Freestyle Friday 23-2019

It's Friday!!!  Hope you have had a great week!  Time to just play and make a card!  Our colors are primary and our theme is kids!

Here is my card:


My card today started with a House Mouse image I received in a swap.  I colored the image with Spectrum Noir markers and added glitter to the beach ball with a Spectrum Noir clear Glimmer pen.  I trimmed the panel down and placed it on a second panel of bright yellow card stock.  I used white card stock for a card base.  I stamped a sentiment from Simon Says Stamps.  ~  Gracie

Thursday, June 6, 2019

Inspiration Thursday 23-2019

Hello again and Happy Thursday!  Today we will be using a mood board for inspiration!


And here is my card:


I really had fun making today's card!  I love Tim Holtz's Crazy Dogs (and birds and cats!)  I love the cute stamps that can accompany them!  I remembered the graduation cap, the glasses, the bow tie and the diploma.  I stamped the dog and the food bowl and the hat, glasses, diploma and bow tie on heavy weight white card stock with Tuxedo Black Memento Luxe ink and heat set with clear embossing powder.  After coloring the images with Spectrum Noir markers using the colors from the mood board, I fussy cut them and glued them together using Art Glitter Glue.  I stamped the sentiment on white card stock (also from Tim Holtz) and added the bow tie.  I attached them to a lime green panel with foam tape.  I placed the panel on a white card stock base.  Gotta love Tim Holtz!!  ~  Gracie

Wednesday, June 5, 2019

Sketch It Wednesday 23-2019

Happy Wednesday!  Time for a sketch!  Our colors are bright (primary) and our theme is kids!

Here is the sketch to play with today:


And here is my card:


I started my card with a paper pad from Stampin" Up.  I stamped the girl from "Some Odd Girl" on whit card stock with black Memento ink and colored her with Spectrum Noir Markers.  I then fussy cut her.  I cut a triangle from bright pink card stock and matted it with green card stock.  I stamped the sentiment with white ink and heat set with white embossing powder.  I stamped leaves to resemble seeds to try to make my triangle look like watermelon using black ink and I used a white gel pen to and dots to the seeds.  I stamped the sentiment on white card stock with black Memento ink and heat set it with clear embossing powder.  I added a few rhinestones for embellishment and added the panel to a white card stock card base.  ~  Gracie

Tuesday, June 4, 2019

Technique Tuesday 23-2019

Happy Tuesday!  Time to play with a new technique!

Here is the link to the inspiration by Jennifer McGuire:


And here is my card:


Holy Crow!!!  This is one of those cards that sounds so easy on the video!  I think it took me three hours to complete it!  I followed the instructions right down to the staples and the zip lock bag strip of plastic. 
I started with heavy weight white card stock and die cut a circle in the upper portion of the front panel.  I also die cut a blue ring for the circle and attached it to the front.  I stamped my sentiment from Raison Boat with Tuxedo Black Memento Ink and heat set it with clear embossing powder.  I added the graduation cap to the bottom (it's a die cut) with a foam dot.  I die cut a diploma of light yellow card stock and tied it with white ribbon and attached it with glue dots.  Then I started the hard part lol!  I penciled the circle on a second white panel and stamped "good luck" from Tim Holtz.  I did not have the slider dies Jennifer McGuire uses in the video so I used a straight edge rule and a craft knife to cut two slots for the plastic "conveyor belt" and secured it with staples.  I attached a white strip of card stock for a pull tab behind the "conveyor belt" and attached a graduation owl die cut to the front at the bottom of the plastic using red line double sided tape.I then made tracks for the owl and the pull strip using foam tape and attached the owl side to the front panel lining up the circles and the back to a third panel of blue card stock.  I used white card stock as my card base.

Here is the card with the tab pulled:


I really hope my grandson likes it!!!  ~  Gracie

Monday, June 3, 2019

Mistletoe Monday 23-2019

It's Monday!  Let's make a Christmas card!!!

Here is my card:


Since our cards this month have a child's theme I picked this cute Santa image I received in a swap (I don't know the source).  I colored the image with Spectrum Noir Markers and used a gold glitter gel pen on Santa's belt buckle.  I placed the panel on a cranberry red card stock.  I stamped the sentiment with tuxedo black Memento Luxe ink and heat set with clear embossing powder.  I trimmed it and placed it on the same red card stock.  I added the image and sentiment to a white panel with foam tape.  I used green card stock for the card base.  I went back and added two rhinestones for just a little bling  :)  ~  Gracie

Sunday, June 2, 2019

Sweet & Simple Sunday 23-2019

Hello & Happy June!!!  It's Gracie here this week as your designer.  I'm so excited - the grand kids are out of school!  Elliott (our eldest grandchild) just graduated from high school and has received a full scholarship to Mississippi State University!  So proud of him!

It's Sweet & Simple Sunday!  Our colors are primary (red, blue, green, yellow) and the theme this month is children!  Fun!!

Here is my card:


I started my card with a digital image from Little Scraps of Heaven.  I printed it on white card stock and colored it with my Spectrum Noir markers.  I added sparkle with a clear Spectrum Noir Sparkle pen and added eyelashes with a black gel pen and white highlights with a white gel pen.  i tied a yellow and black ribbon around the panel and attached the panel to a second panel of red card stock.  I used white card stock for my card base. It is perfect for my youngest granddaughter to write a note for her daddy!  ~  Gracie

Saturday, June 1, 2019

Scene It Saturday 22-2019

Thanks for stopping by. I've enjoyed my time as designer this week. I hope that I was able to inspire you to create something.


The theme for May is celebrating Mom and the color scheme is metallic, kraft and white.  For Scene it Saturday, the theme is to create a scene card. 

Here's my card


I created a dusk scene with silhouettes of foliage and a few dragonflies. I started by adding distress inks (spiced marmalade, spun sugar, shaded lilac) with ink blending tools. I stamped the silhouettes using Technique Tuesday’s Wildflowers stamp set, using both first and second generation stamping. I trimmed the panel to 3.75” x 3.75” and matted it with black to help the panel pop. The sentiment is from Hero Arts’ Happy Mother’s Day stamp set.

I've had a great time here. Hope to see you next time.
sue